Recently I decided to switch my default shell to zsh. I've been using bash for years because... it's been the default. But macOS Catalina changes the default shell from bash to zsh and I got tired of the warning message popping up every time I opened Terminal.
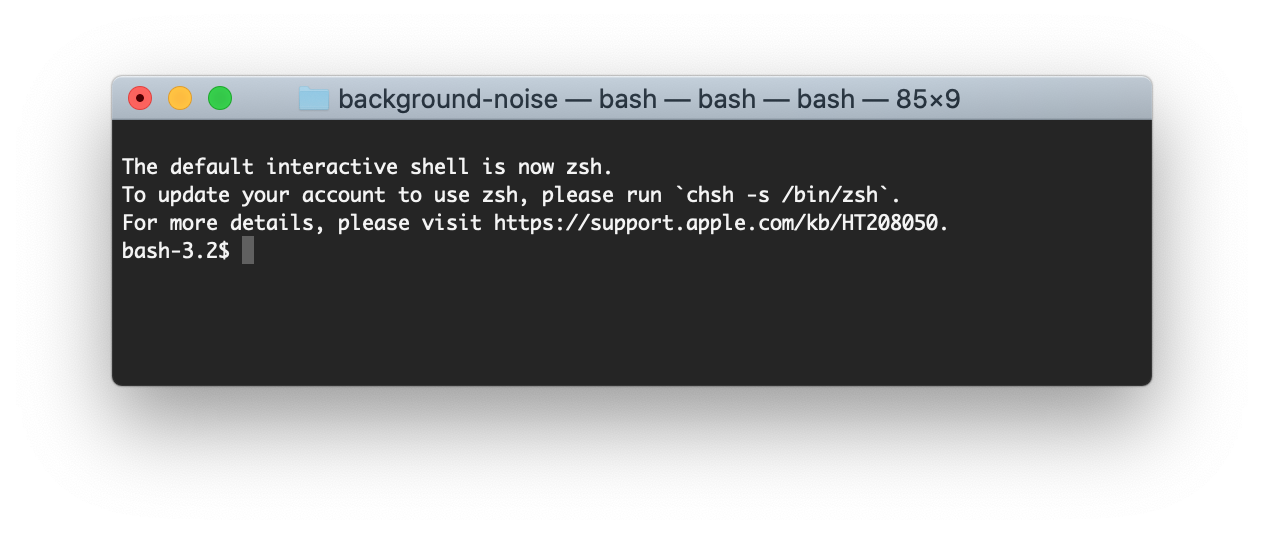
So, time to switch to zsh and ditch that warning message 😄.
Now, I'm not looking for an overly-complex setup here. I'm aiming for a quick and simple setup that results in a fast shell that supports auto-complete and the aliases I'm used to. One other feature I'd like is showing git branch info when in a git directory. Let's get to it!
Steps
1. Set zsh as default shell
You can switch the default shell to zsh by running:
chsh -s /bin/zshI'm not totally sure "chsh" stands for CHangeSHell but at least that's how I remember it 😉
You can see a list of all supported shells by running
cat /etc/shells
2. Install "Oh My Zsh"
The simplest way to get a bunch of great features and keep your setup simple is to install Oh My Zsh. To install just run the following command in your terminal:
sh -c "$(curl -fsSL https://raw.githubusercontent.com/ohmyzsh/ohmyzsh/master/tools/install.sh)"3. Set the theme
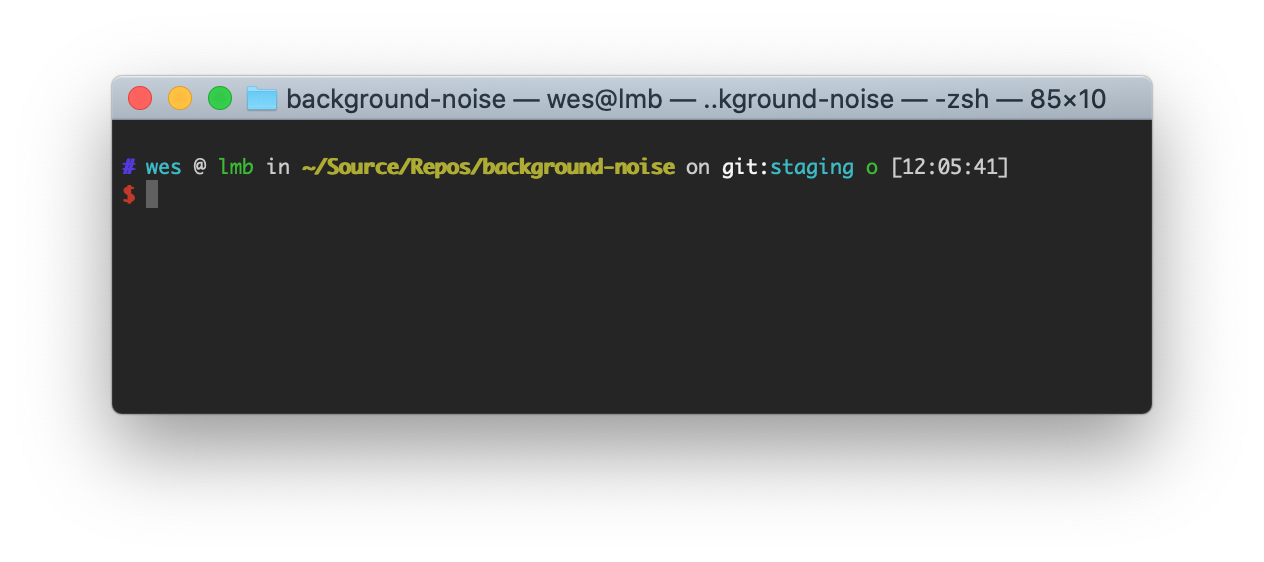
There are a lot of built-in themes you can use. I personally use "ys" because it shows me git branch info and the input prompt is on a new line (meaning it's at a consistent location regardless of the directory I'm in, so my eyes always know where to look 👀).
To use a theme just set ZSH_THEME in .zshrc.
ZSH_THEME="ys"4. (Recommended) Add plugins
Oh My Zsh comes with plugin support for things like aliases and command completion. There are a bunch of built-in plugins that you can add. Just space-separate the list in the .zshrc file:
plugins=(git npm docker docker-compose)5. (Optional) Add your aliases
The git plugin in Oh My Zsh provides a bunch of git aliases... however I have some git aliases that are just hard-coded into my fingers so I have to add my own aliases.
Your custom aliases override the plugin aliases so don't worry about name collisions
To add your own aliases just go to the bottom of the .zshrc file and add them. If you come from bash you can just copy paste what you have setup in your .bash_aliases/.bashrc/.bash_profile.
# custom aliases
alias repos="cd ~/Source/Repos"
alias gs='git status'
alias ga='git add --all'
alias gf='git fetch --all --prune'
alias gsu='git submodule sync && git submodule update --init --recursive'
alias gc='git commit -m'
If coming from an existing shell...
Some tools add exports to your shell's profile for the tool to work properly. For me, my existing .bash_profile has exports for nvm and gpg, so I need to copy those over to the bottom of my .zshrc.
# gpg needs this
GPG_TTY=$(tty)
export GPG_TTY

# nvm needs this
export NVM_DIR="$HOME/.nvm"
[ -s "$NVM_DIR/nvm.sh" ] && \. "$NVM_DIR/nvm.sh"  # This loads nvm
[ -s "$NVM_DIR/bash_completion" ] && \. "$NVM_DIR/bash_completion"  # This loads nvm bash_completion
Reference .zshrc
This is mostly for my own future reference, but you can find my current .zshrc file here.
Or from the RSS feed
Hopefully you found this post helpful, if you have any questions or comments you can reach me via electronic mail.